Salt-Preserved Lemons: A Beginner's Guide to Making and Using Them
There is something quietly satisfying about a jar that improves by being ignored. Salt-preserved lemons are exactly that kind of project: a handful of lemons, a bag of coarse salt, one clean jar, and about ten minutes of actual work. Then you put the jar on a shelf and leave it alone for a month.
When you come back, the fruit has gone soft and glossy, the brine smells clean and sharp, and the rind — the part you really want — tastes like lemon concentrated into something deeper, saltier and faintly savoury. A spoonful lifts a chicken traybake, a bowl of yoghurt or a tray of roast carrots. It is preserving at its most useful, and it costs far less than a ready-made jar.
What you are actually making
Despite the name, you are not making lemons that taste only of salt. You are starting a slow ferment. The salt draws juice out of the fruit and creates a brine that is too salty and too acidic for most spoilage organisms to get a hold. Over the following weeks, enzymes and salt-tolerant microbes soften the peel and round off its bitterness.
The result is rind you can eat whole, and a brine that behaves like a punchy, salty lemon juice. This technique runs through Moroccan, North African and Middle Eastern cooking, but there is no reason to keep it there. A jar lasts months in the fridge, so it is an easy habit to start and a hard one to give up.
Choosing your lemons, salt and jar
Start with unwaxed lemons if you can find them; most supermarkets label them clearly. Wax slows the process rather than ruining it, so if waxed fruit is all you have, scrub each lemon well under hot water and dry it thoroughly. Look for firm, heavy lemons with bright, unblemished skin. Soft patches will rot in the jar, and one bad lemon can spoil the batch.
Thick-skinned lemons hold their shape well; thin-skinned ones soften more quickly. Both work, so buy what looks best rather than chasing a particular variety.
The salt matters more than you think
Use coarse sea salt or a coarse kosher-style salt. Fine table salt usually contains anti-caking agents that turn the brine cloudy and sludgy, and iodised salt can leave an odd note behind. Budget roughly 15g — a scant tablespoon — of coarse salt per lemon, plus a little extra for topping up later. You will use more salt than feels sensible. That is the point.
For the jar, a 500ml clip-top or screw-top jar holds about four to five lemons. Wash it in hot soapy water, rinse well, then dry it in a low oven at around 120°C (100°C fan) for ten minutes and let it cool before packing. A hot dishwasher cycle works too.
The basic method
- Scrub the lemons, dry them and trim the little stalk nub from the top of each one.
- Cut each lemon into quarters lengthways, stopping about a centimetre short of the base so it opens out like a flower but stays in one piece. For a faster result, cut thick slices instead.
- Rub coarse salt generously into every cut face and into the crevices.
- Pack the lemons into the jar, pressing down hard with a clean hand or the end of a wooden spoon as you go. This is what starts the juice flowing. Sprinkle a little more salt between layers.
- Keep pressing until the lemons are submerged in their own juice. If they are not covered after a few hours, top up with extra freshly squeezed lemon juice — never water.
- Leave a centimetre or two of headspace, then weigh the fruit down. A small clean jar, a scrunched piece of baking parchment, or a zip-lock bag filled with brine all work. Nothing should float above the surface.
- Seal, label with the date, and leave somewhere out of direct sunlight. Shake the jar once a day for the first week to redistribute the salt.
Waiting, checking and troubleshooting
They are ready in about four weeks, sometimes three in a warm kitchen. The rind should be soft enough to cut with a spoon and taste mellow rather than bitter. Move the jar to the fridge once they reach that point.
- A white film or cloudy brine: usually harmless salt-tolerant yeast. Skim it off, make sure everything stays submerged, and carry on.
- Fluffy mould in blue, green or black: discard the whole jar. Do not scrape it off and hope.
- Brine has dropped below the fruit: top up with lemon juice and a pinch of salt.
- An unpleasant, rotten smell: throw it away. A good jar smells sharp, salty and clean.
- Still hard after a month: slice them thinly, add a squeeze of juice and give them another fortnight somewhere warmer.
Do not top the jar up with oil. Oil creates an airless layer where harmful bacteria can thrive, and these lemons keep perfectly well under brine alone.
How to use them in everyday cooking
Rinse a piece before use to knock back the salt, then scrape away the pulp and pith with a knife and chop the rind. The pulp is not wasted — push it through a sieve into a dressing, or stir it into a marinade.
- Braises and tagines: add chopped rind to chicken, lamb or chickpea stews in the last ten minutes.
- Yoghurt sauce: stir finely chopped rind through thick yoghurt with crushed garlic and a little olive oil. Good with roast vegetables or grilled fish.
- Roast vegetables: toss cauliflower, carrots or squash with oil and chopped rind before roasting, so the edges catch and caramelise.
- Grain salads: couscous, bulgur or rice with herbs, toasted seeds and plenty of chopped preserved lemon.
- Fish and chicken: mash rind into softened butter, or add it to a marinade with cumin, paprika and garlic.
- Pasta: fry with garlic and chilli in olive oil, then toss with prawns, greens or a tin of beans.
- Drinks and small things: a dash of brine in a Bloody Mary, or chopped rind scattered over hummus, avocado or fried eggs.
Start with half a lemon for a dish serving four. The flavour is powerful and it is easy to add more, impossible to take away.
Variations worth trying
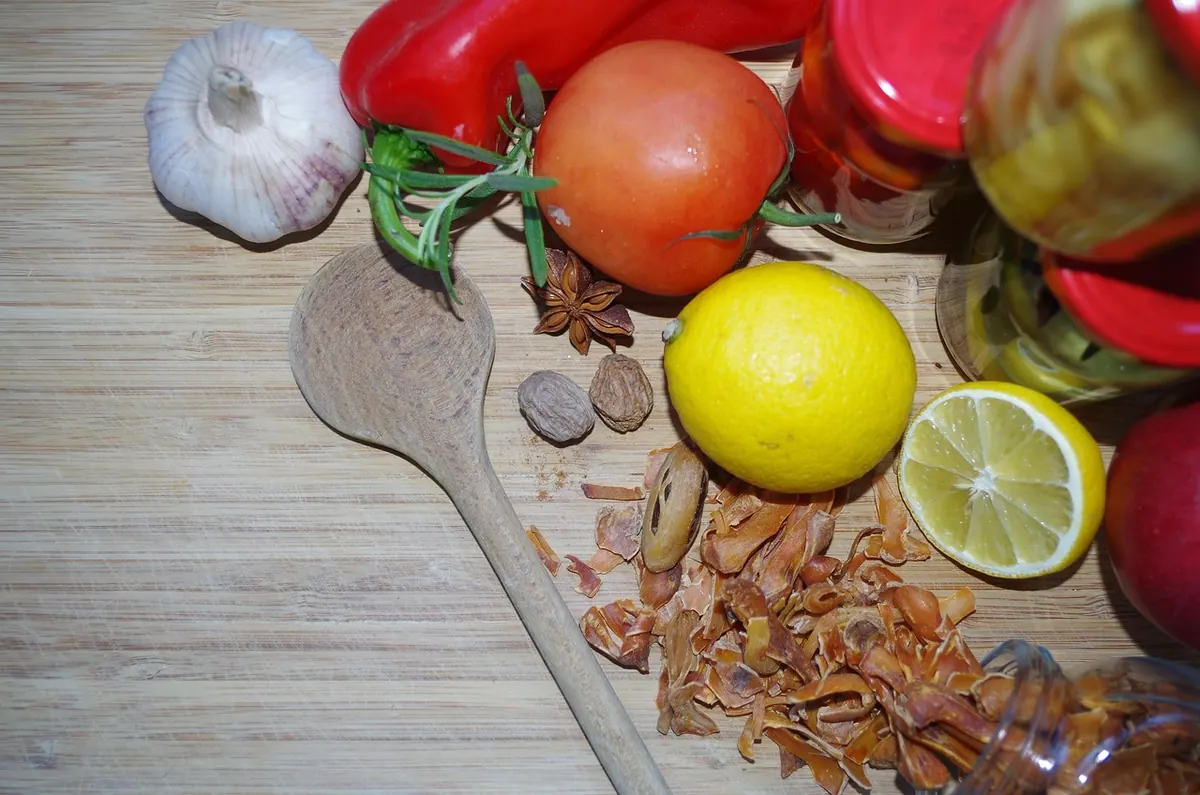
Once you have made one plain jar, tuck flavourings in among the lemons before sealing: a bay leaf, black peppercorns, coriander seeds, a cinnamon stick, a dried chilli, a sprig of thyme or a couple of star anise. Keep the additions whole so they release slowly rather than dominating.
Limes preserve beautifully and are ready sooner, usually in a fortnight, and they suit fish, rice and anything with a Mexican or Southeast Asian lean. If you can get Meyer lemons, grab them — their thinner skins soften faster and the result is milder. Thick slices rather than quarters will also cut the waiting time by a week or so.
Storing them and keeping a jar going
Keep the jar in the fridge, always with the fruit under the brine, and lift pieces out with a clean fork rather than your fingers. Top up with lemon juice and a pinch of salt whenever the level drops. Properly kept, they will last a year, though you will almost certainly use them before that.
One jar of five or six lemons is a sensible starting point; it is roughly a year's supply for most households. If anything looks or smells wrong, trust your nose and start again — the ingredients cost pennies. And because preserved lemons are very salty, use them as a seasoning rather than a vegetable. If you are on a salt-restricted diet, speak to your GP or a dietitian before making them a regular habit.
Photo: Ajale / Pixabay

A British Seasonal Pantry Calendar: What to Buy, Store and Cook Month by Month
A month-by-month guide to British seasonal pantry cooking, from Seville orange marmalade in January to...
Freezer-to-Pantry Meal Prep: 8 Make-Ahead Dinners for Busy Weeks
Eight make-ahead dinners that pair freezer portions with pantry staples — from slow-cooked ragù to lentil...
About Us